Technical Leaders · AI Desktop Setup Guide

AI Agent
Starter

A short, self-guided setup for either ChatGPT Desktop or Claude Desktop. Put privacy, custom instructions, connections, and reusable workflows in place, then see what your AI assistant can do for a leader's week.

Choose ChatGPT Desktop or Claude Desktop and follow the matching notes in each step. This guide shows what either AI assistant can already do, then gets your chosen desktop app set up. Look at the three examples, work through the five setup steps in order, and try the How Might We technique on a real task of your own. Every setting here is yours to change, and nothing is permanent.

Showcase of what's possible

Three things ChatGPT or Claude can help you do once your chosen app is set up. The first is the everyday, low-risk win. The other two are agentic: the assistant takes actions itself, with you watching and approving.

ChatGPT or Claude
Personal Productivity · Everyday win

Turn raw data into a clean summary report

An editable document open beside an AI chat, the kind of clean, editable output a summary report produces.
An editable document the assistant produced, open beside the chat and ready to edit.

Hand your AI assistant a messy spreadsheet or a stack of existing reports and get back one clean summary.

  • Feed it raw exports, a spreadsheet, or several long reports
  • It reads across all of them and writes a single, structured summary
  • Skills, file creation, and code execution do the number work and the formatting
Why it works With file creation and data analysis turned on, your AI assistant does not just describe the numbers. It opens the files, computes, and produces a document you can save. Start here: it is the low-risk win that pays for the setup.
ChatGPT or Claude
Agentic work · Browser use and computer use

Prospect on LinkedIn from your logged-in browser

Claude operating inside a Chrome browser tab, reading the on-screen content and reasoning about which action to take next, with a side panel showing its in-progress thinking.
Source: Anthropic, Claude for Chrome

A browser-capable AI assistant can act on what you are already logged into, including LinkedIn.

  • Drives your real LinkedIn tab to research profiles and queue prospects
  • Uses your existing login, so there is no integration to set up
  • You watch it work and approve the steps that matter
Browser use vs computer use Browser use means the assistant works inside your browser tab. Computer use means it acts on your whole desktop, clicking and typing across apps like a contractor over your shoulder. Both keep you in the loop.
ChatGPT or Claude
Agentic work · Newer ground

Assemble a rough cut with computer use

Raw clipsRough cutYour review

Point your AI assistant at a folder of clips and a video editor, and it can help cut and assemble a first pass.

  • Computer use can drive a desktop video editor, or an editor connected over MCP
  • It works from your rough set of clips toward a rough cut you then refine
  • This is newer ground, so treat it as help with the first pass, not a finished editor
Why it counts as agentic Instead of telling you which clips to use, the assistant operates the editor itself through computer use and does the cutting. Keep a person on the final cut.
Set up · Step 1

Choose your desktop appUse ChatGPT Desktop or Claude Desktop for the entire guide.

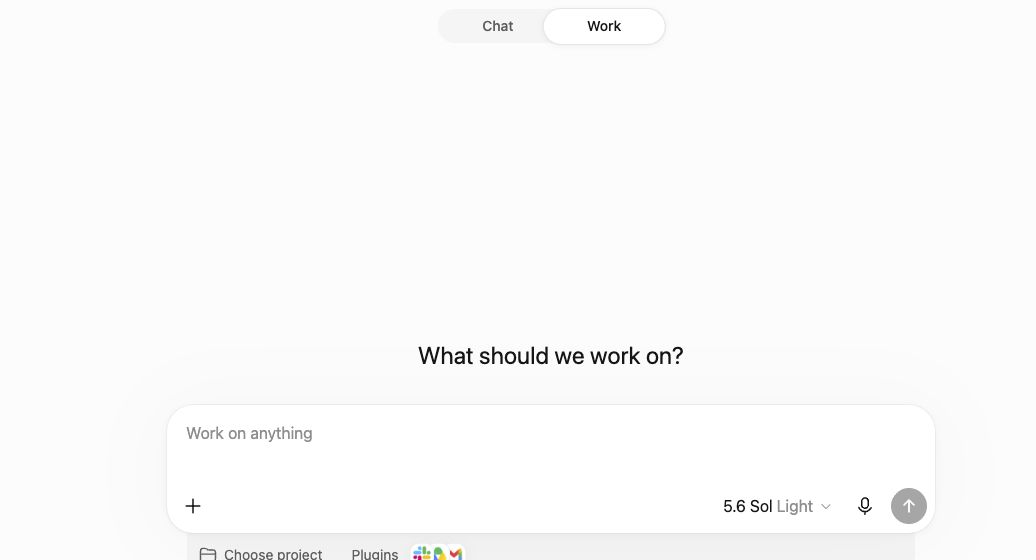
Choose one app and stay on that path: ChatGPT Desktop or Claude Desktop. Features and plan requirements vary, so use the closest equivalent named in each step and skip any option your plan does not include.

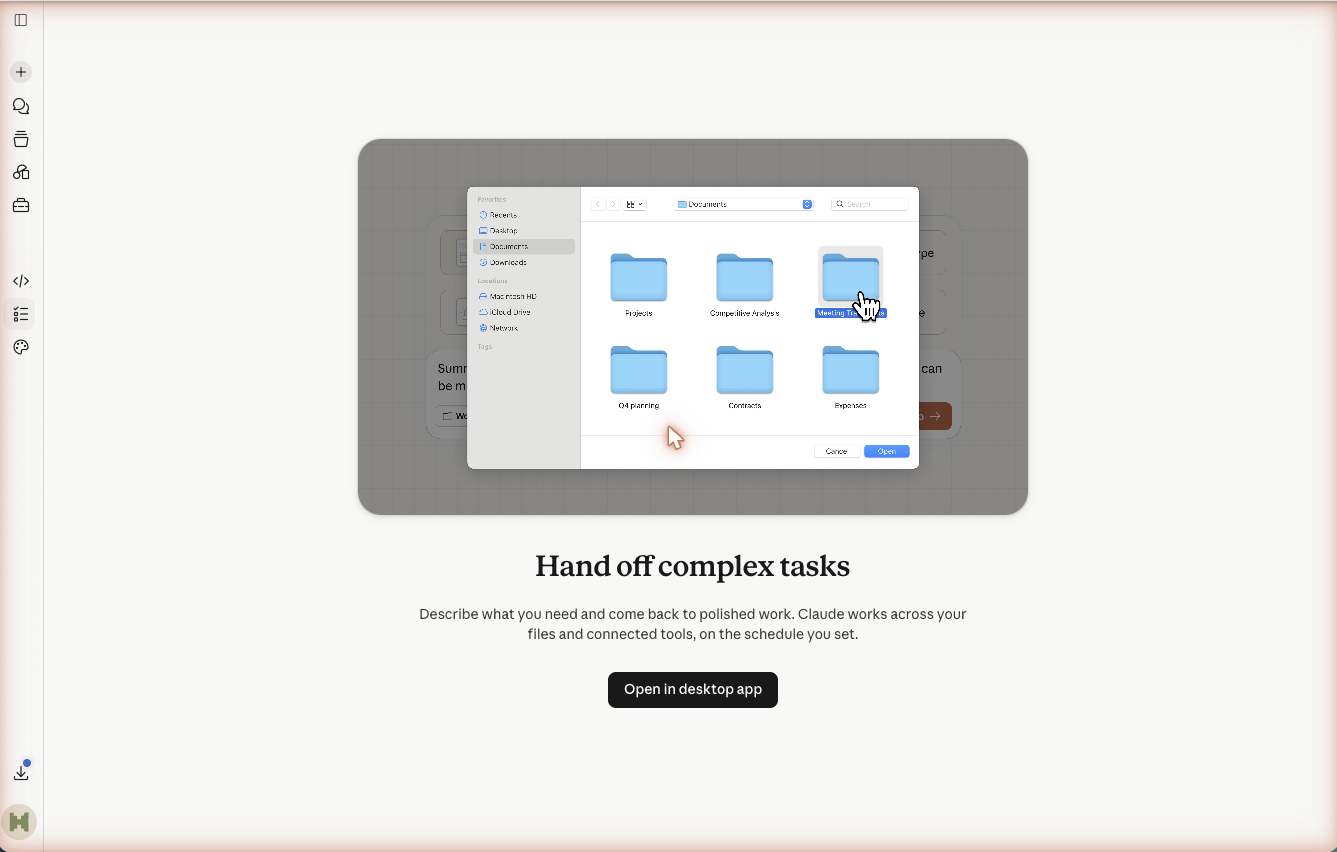
The Claude Cowork intro screen reading Hand off complex tasks, with an option to open in the desktop app.
Claude Desktop shown as one example. ChatGPT Desktop can be used throughout this guide too.

Do this

  1. Choose your path: download ChatGPT Desktop from OpenAI or Claude Desktop from Anthropic.
  2. Choose the version for your computer (Mac or Windows) and run the installer.
  3. Open the app and sign in with the same account you already use.
  4. Check your plan and available tools. Some workflow features may require a paid or workspace plan.

Get ChatGPT Desktop  ·  Get Claude Desktop

Checkpoint ChatGPT Desktop or Claude Desktop is open on your computer and you are signed in.
Set up · Step 2

Privacy ModeSet history, training, memory, and past-chat search on purpose.

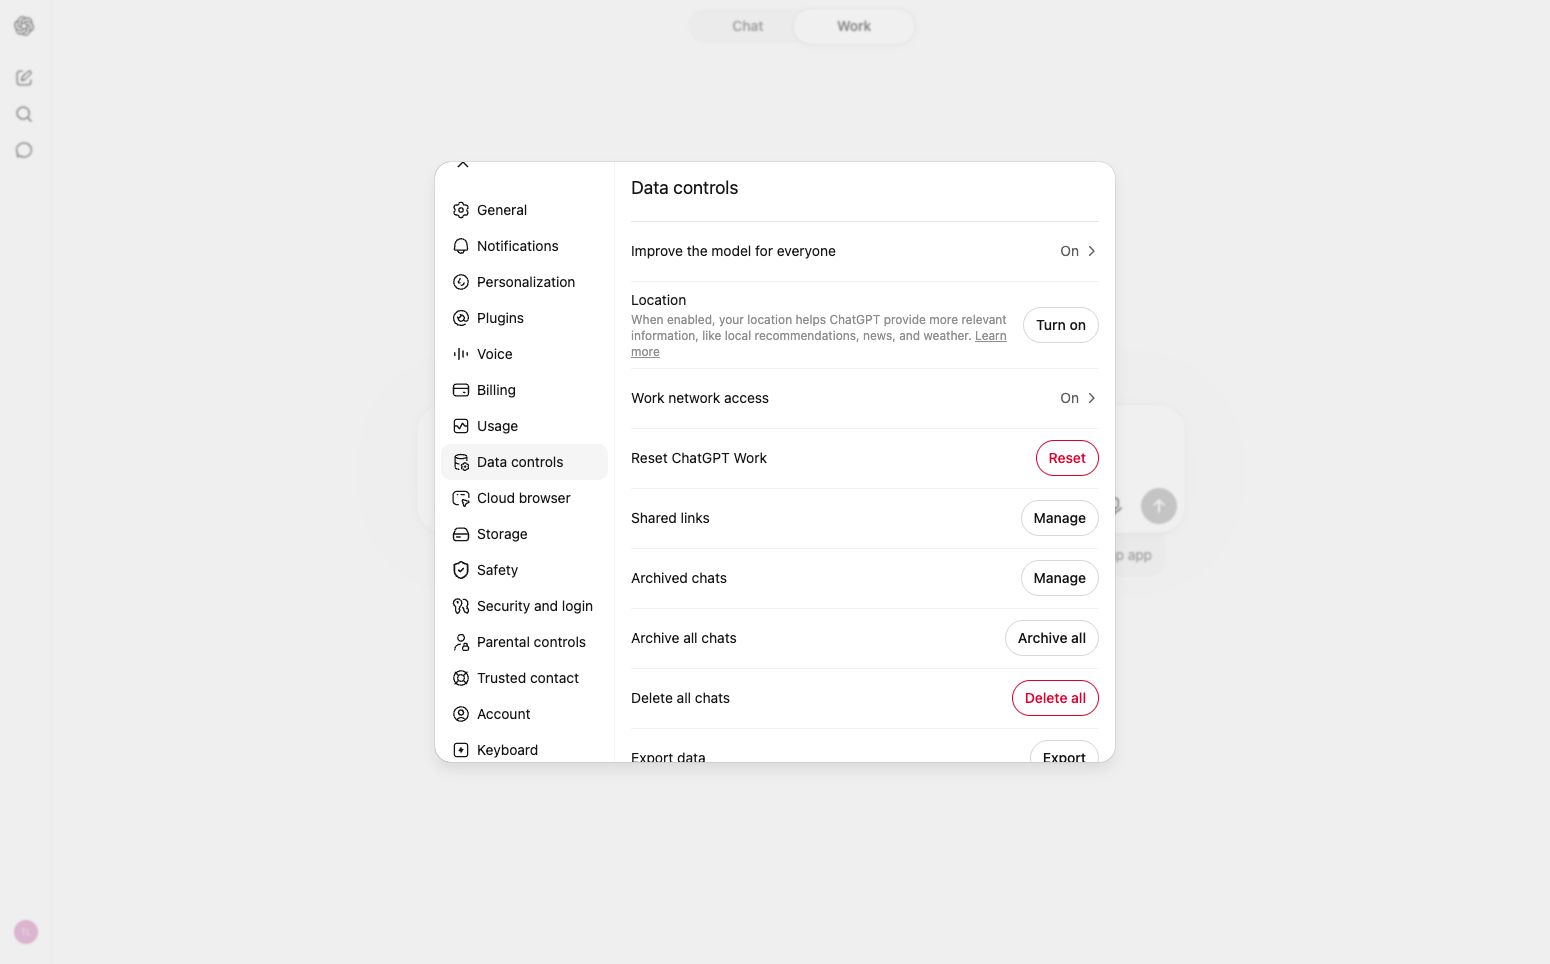
Before you connect real tools and accounts, decide how your data is handled. The desktop app gives you control over saved history, whether chats train models, what the assistant remembers, and whether it can search your past conversations. Setting these deliberately now means you connect Gmail or Drive in the next steps with clear expectations.

These choices are yours to make, and knowing where they live matters more than any single default.

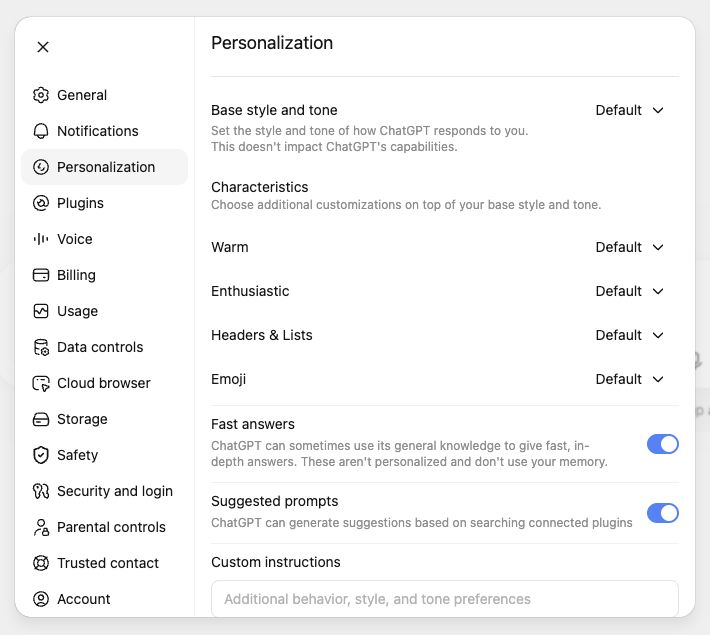
Pick your pathChatGPT: open Settings and review Data Controls, Personalization, and Memory. Claude: open Settings and review Privacy, Capabilities, and related history or memory controls. Labels can vary by plan and app version.
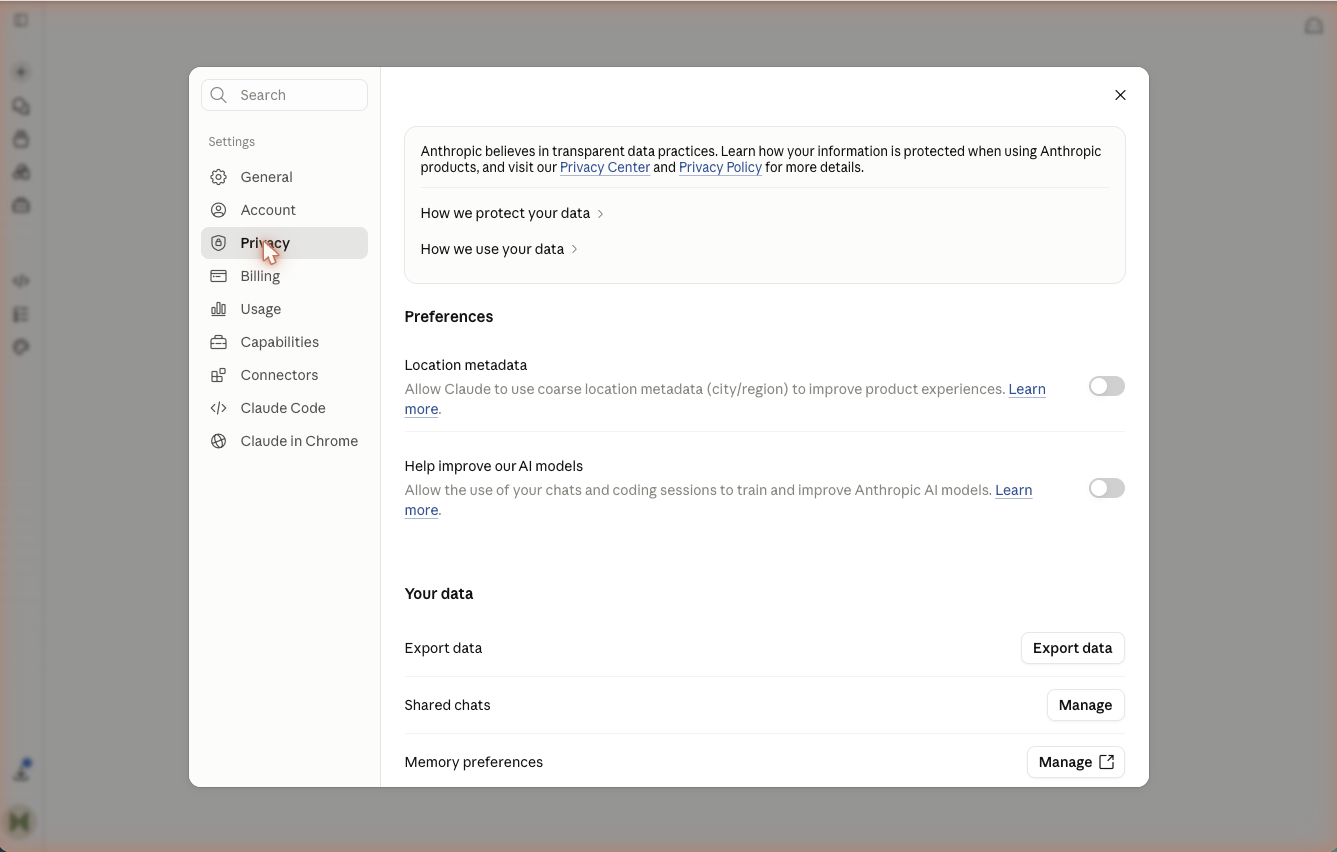
The Settings Privacy panel with the model training toggle, export, shared chats, and memory controls.
Settings, Privacy: the training toggle, memory, and history controls.

Do this

  1. Open Settings and find the privacy or data controls.
  2. Go down the recommended table below and set each one.
  3. Decide your training toggle based on how sensitive your work is.
  4. Note that memory and past-chat search are conveniences. Turn them on if the time saved is worth it to you.
Conversation historySaves chats so you can reopen them. Recommended start: on.
Training toggleLets your chats improve models. Recommended start: off if you handle client or private data.
MemoryCarries useful details across chats. Recommended start: on for convenience, off for strict privacy.
Search past chatsLets the assistant pull from earlier conversations. Recommended start: on if you reference past work often.

It is also on you to decide what is safe to paste in. Skip passwords, full account numbers, or anything you could not share with a contractor.

Checkpoint Each of the four settings reflects a choice you made, not just the default.
Set up · Step 3

Custom InstructionsStanding notes about who you are and how your AI assistant should think.

A Project (available on Pro) is a folder for related conversations. You can add reference files once and write custom instructions, which are standing notes about who you are and how you like answers. Every chat inside that Project starts already knowing them, so you stop re-explaining yourself.

Pick your pathChatGPT: use Customize ChatGPT for account-wide guidance, or Project instructions and files for focused work. Claude: use Profile preferences for broad guidance, or Project instructions and knowledge for focused work.

Write your custom instructions

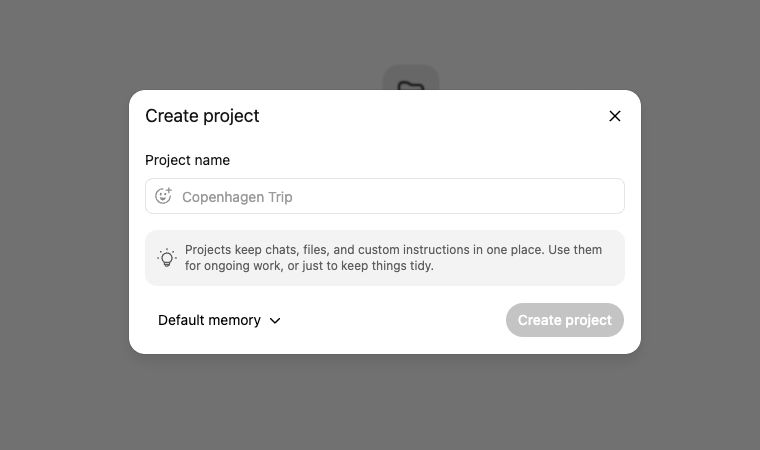
  1. In the sidebar, find Projects and click "New Project." Give it a name.
  2. Add knowledge by uploading a few reference files (a style guide, past examples, key facts).
  3. Write custom instructions. State your role, your audience, and how you want the assistant to respond.
  4. Start chats inside the Project. They use the files and instructions automatically.
Example custom instructions to copy and adaptAbout me: I run a small bakery and write our weekly newsletter. Audience: local customers, friendly and casual. How to respond: short paragraphs, no jargon, warm tone. Always suggest one seasonal item to feature.

The Adaptive Reasoning Protocol

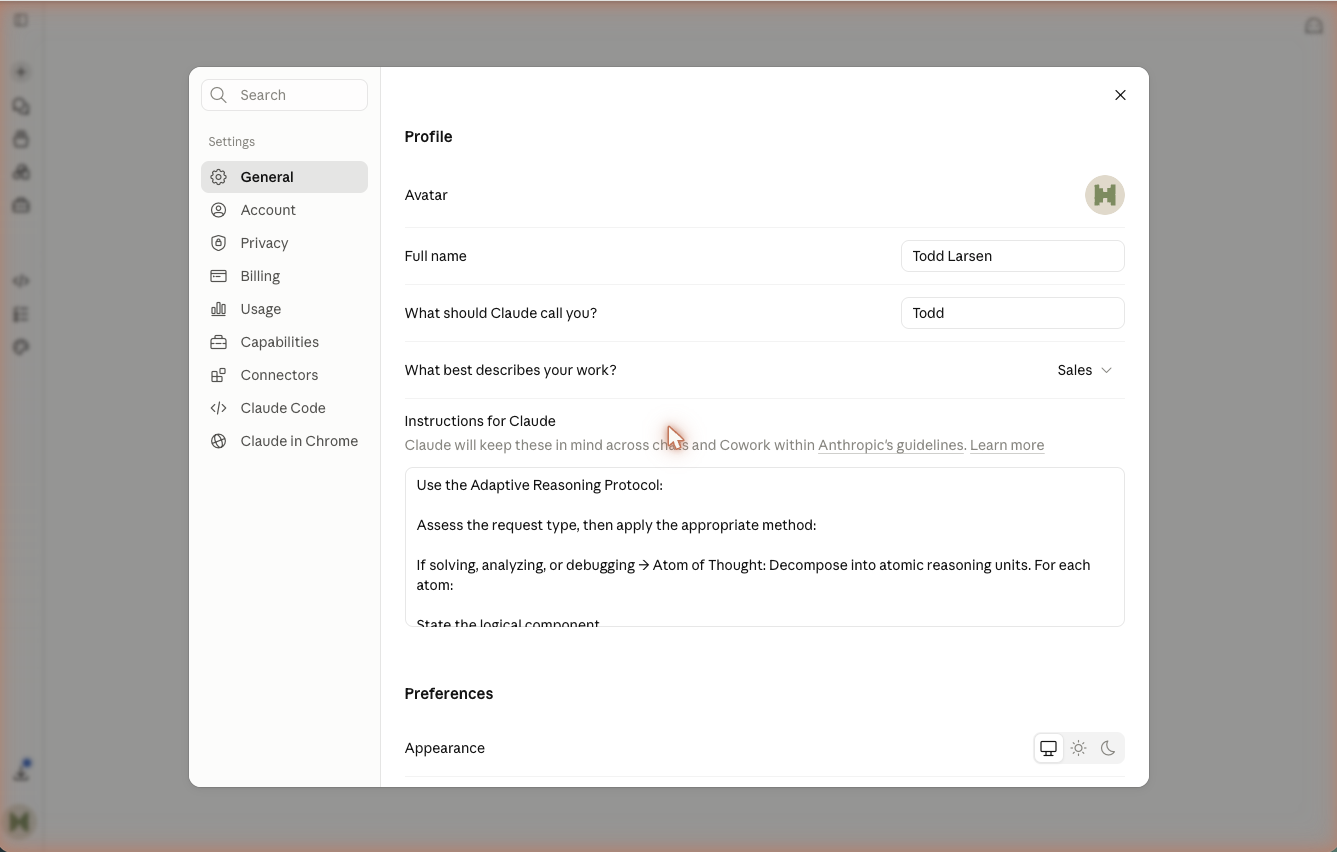
Custom instructions do not have to be about your bio and tone. They can also tell your assistant how to think. The Adaptive Reasoning Protocol below is a single instruction you paste once that teaches your assistant to size up each request and switch methods automatically: it breaks problems into small, checkable pieces when you ask it to solve or debug, it explains things plainly like a patient teacher when you ask it to learn or understand, and it does both in order when a task needs both. You do not have to remember which mode to ask for; the instruction handles that for you.

The Settings Instructions for Claude field with the Adaptive Reasoning Protocol pasted in.
Settings, Instructions for Claude: the Adaptive Reasoning Protocol pasted in.

Install it

  1. Open the custom instructions area, either in a Project or in your account's settings.
  2. Copy the Adaptive Reasoning Protocol below exactly as written and paste it in.
  3. Save the instruction. Every new chat that uses it will follow the protocol without being reminded.
  4. Test it. Ask your assistant to debug something and watch it decompose the problem, then ask it to explain a concept and watch it switch to plain teaching.
Adaptive Reasoning Protocol custom instruction to copy and pasteUse the Adaptive Reasoning Protocol: Assess the request type, then apply the appropriate method: If solving, analyzing, or debugging → Atom of Thought: Decompose into atomic reasoning units. For each atom: State the logical component Validate independence Verify correctness Then synthesize atoms into final answer. If explaining, learning, or teaching → Feynman Loop: Explain as if teaching a curious beginner. For each cycle: Use a concrete analogy Flag confusion points Ask questions that reveal gaps Then compress into a teachable snapshot. If both are needed → Chain them: First solve via Atom of Thought, then explain the solution via Feynman Loop.

Checkpoint You pasted the Adaptive Reasoning Protocol into your custom instructions, saved it, and saw your assistant switch methods on its own across a solving task and an explaining task.
Set up · Step 4

ConnectorsThe step that turns a chatbot into an agent.

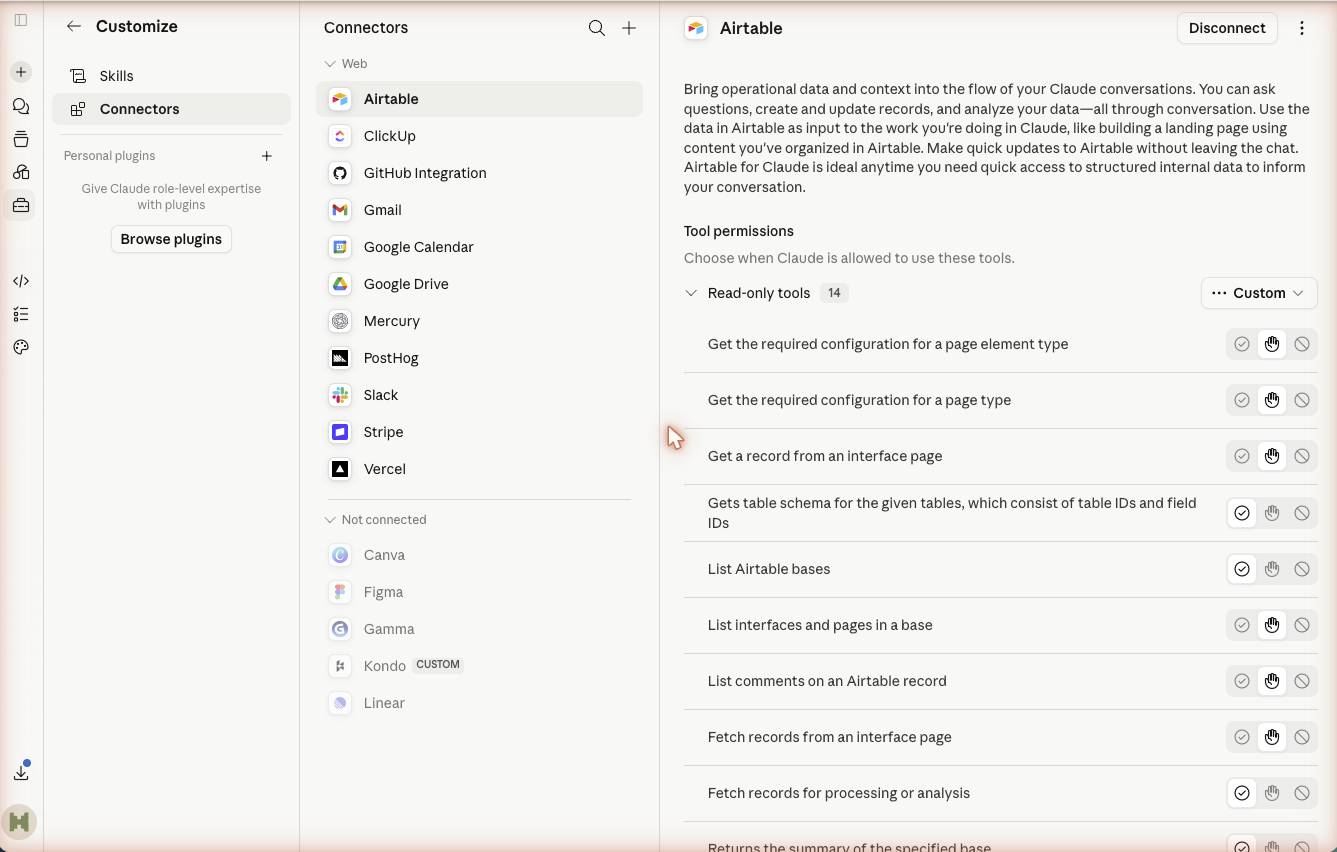
A Connection uses something called MCP (Model Context Protocol), which is a safe, standard way for your assistant to reach an outside tool such as Gmail, Calendar, Google Drive, Linear, or Stripe. You approve each connection, so the assistant only touches what you allow. Once connected, your assistant can read and act in those tools instead of only talking about them. That shift, from describing work to doing it, is what makes it an agent.

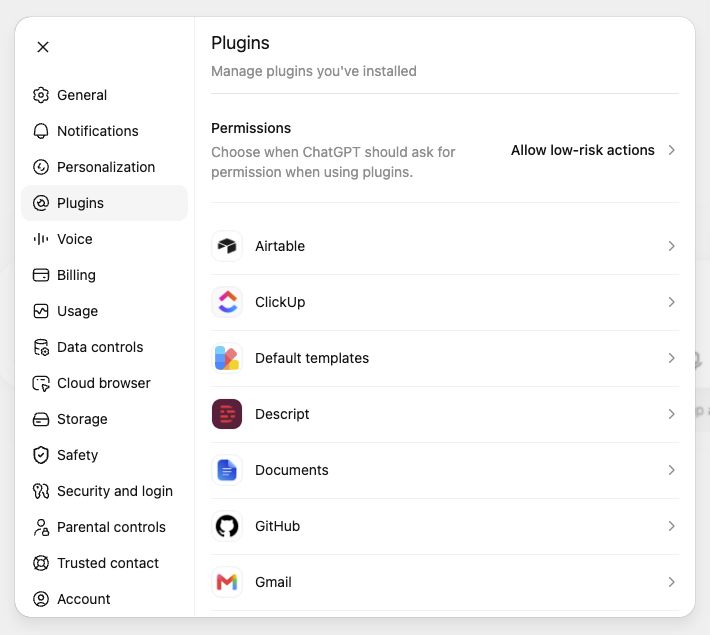
Pick your pathChatGPT: look for Apps or Connectors in Settings, then enable an available service. Claude: look for Connectors or MCP in Settings. Availability depends on your plan and workspace permissions.
The Connectors panel listing tools like Airtable, Gmail, and Slack with per-tool permission controls.
Settings, Connectors: tools like Gmail and Calendar, each approved on its own.

Do this

  1. In the desktop app, open Settings and find Connections (sometimes labeled MCP or Connectors).
  2. Browse the available connections. Pick one you actually use, such as Google Calendar.
  3. Click to connect and follow the sign-in prompt. You are granting access through the tool's own secure login.
  4. Confirm it worked by asking your assistant something only the connection can answer, like "What is on my calendar tomorrow?"
Approved per tool Each connection is authorized on its own. Connecting Calendar does not give the assistant your Gmail, and you can disconnect any tool later.
Checkpoint At least one connection is active and your assistant correctly answered a question using live data from it.
Set up · Step 5

Reusable workflowsFocused expertise for one kind of task, on either platform.

A reusable workflow gives your assistant focused expertise for one kind of task, like triaging support tickets or drafting a weekly update. The packaging differs by platform, but the goal is the same: save proven instructions, examples, and reference files so you do not start from scratch.

Pick your pathChatGPT: build the workflow in a Project or custom GPT, using instructions, knowledge files, and available tools. Claude: add a Skill when available, or use Project instructions and knowledge files for the same outcome.
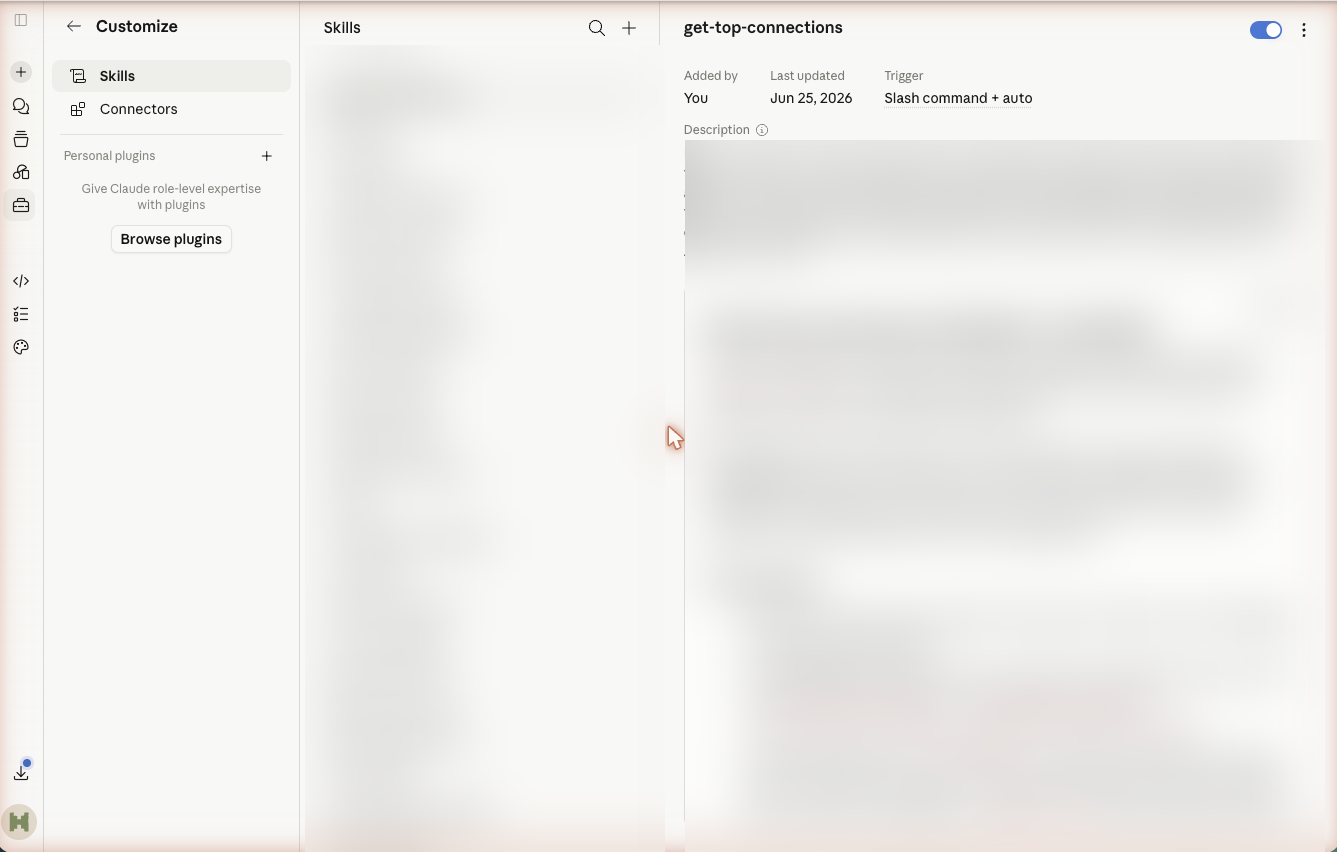
The Skills list with a skill enabled and its trigger shown.
Settings, Skills: an installed skill, enabled with its trigger shown.

Turn on workflow capabilities

A few capabilities power real workflows, and some live behind toggles. Artifacts give you editable documents beside the chat. File creation lets the assistant produce actual files you can save. Code execution lets it run small tasks to compute or transform data. Extended thinking is careful, step-by-step reasoning. Turning on the equivalents available in your app gives your workflow the tools it needs.

  1. Open Settings and find the features or capabilities area.
  2. Enable the available equivalents for reusable instructions, document or canvas output, file creation, and data analysis.
  3. Turn on extended thinking for careful, step-by-step reasoning.
  4. If a feature asks for confirmation the first time it runs, that is the safety model working as intended.

Save your workflow

Save the instructions and reference files in a Project when you want the workflow isolated, or use an account-wide/custom-assistant option when you want it broadly available. A Project is recommended because it keeps a support workflow from bleeding into unrelated work.

  1. Decide which one workflow you want to build first.
  2. Create a Project (or the platform’s equivalent reusable assistant) and add the workflow instructions.
  3. Add any reference files or examples. Prefer keeping them inside that Project.
  4. Keep it focused. Add only the tools and context you need now.
Checkpoint At least one reusable workflow is saved, and you know whether it is account-wide or tied to a specific Project.
Technique

The How Might We promptA simple way to start any task so your assistant asks before it guesses.

When you start a task with "how might we," you frame it as an open problem to work on together. That gives your assistant room to ask about the goal, the format, and the constraints instead of guessing at a one-shot answer. In the masterclass this is how you kick off a prompt: you describe the task starting with "how might we," your assistant asks a few questions about how it should work, then writes a well-worded prompt you can save and reuse.

Reframe a vague ask

Vague ask "Write my weekly update."
How might we "How might we write a weekly update from my meeting notes?"

The second version names the input (your meeting notes) and invites your assistant to ask about audience and format before it writes. You get a prompt that fits your real job, not a generic template.

Use the same framing directly in either desktop app. Ask it to interview you briefly, then turn the result into a saved, reusable prompt or project instruction.

Example for ChatGPT or ClaudeHow might we write a weekly update from my meeting notes? Ask me up to three clarifying questions, then create a reusable prompt.
Put it all together

The Chief of Staff agentTurn your connected tools into a recurring, linked priority brief.

Once your email, Slack, task manager, and calendar are connected, you can ask your AI assistant to scan the work around you and turn it into a focused plan.

Design your own Chief-of-Staff with this prompt

Starter promptTurn this thread into a heartbeat, I want you to check my emails, slack, clickup every 3 hours and tell me what to prioritize. Make sure everything has a link
Copy my Chief-of-Staff with this prompt

Customize the bracketed fields, then paste the complete prompt into your AI assistant.

Loading the complete prompt…

Open the complete prompt as plain text